
DIY gifts add a personal touch to any occasion, and a Mother’s Day DIY flower pot is a perfect way to celebrate the special women in your life. Handmade gifts, like a custom flower pot, offer both beauty and functionality. A DIY flower pot is a thoughtful and long-lasting gift that can be enjoyed far beyond the holiday itself. Whether it’s for a mother, grandmother, or teacher, this creative gift can be customized to suit any recipient.
Contents
Why Choose a Mother’s Day DIY Flower Pot?

A DIY flower pot stands out for its personal touch, making it an excellent alternative to store-bought gifts. Handmade items often hold more sentimental value, as they reflect the time and effort invested in creating them. For moms who appreciate practicality, a flower pot can be a versatile and useful gift that adds beauty to the home or garden.
Additionally, flower pots promote a sustainable lifestyle. They can be repurposed for plants long after the holiday has passed, making them eco-friendly gifts. Whether for mothers or anyone else, the Mother’s Day DIY flower pot can hold plants, flowers, or even small items, ensuring it continues to serve a purpose.
Types of DIY Flower Pot Projects
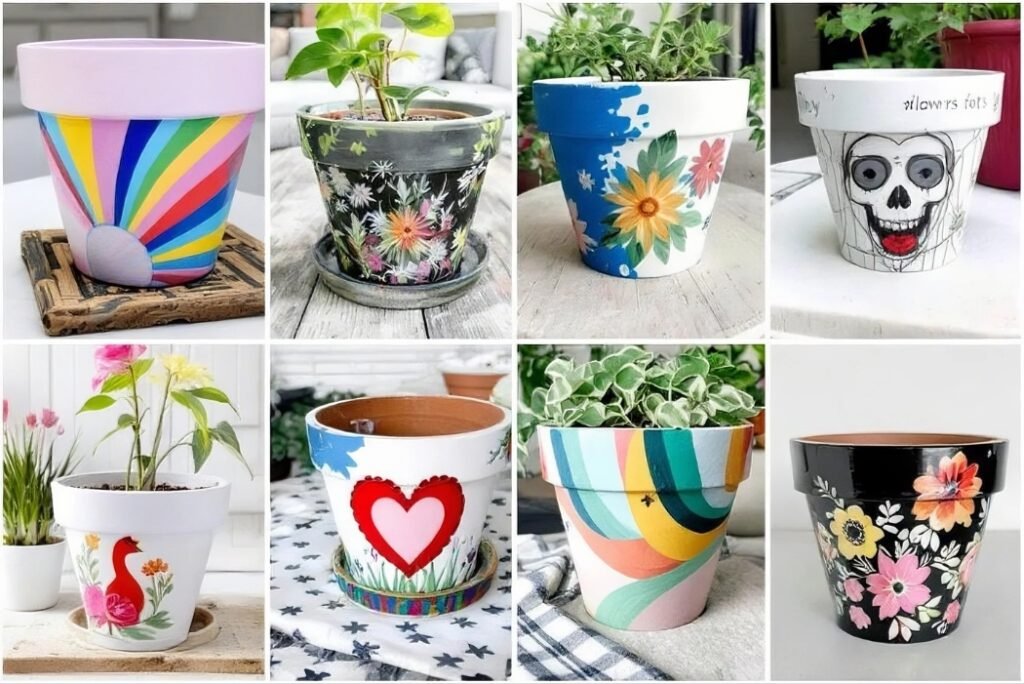
There are several ways to design a Mother’s Day DIY flower pot, allowing you to explore your creative side. One of the most popular options is to decorate painted flower pots. Acrylic, spray, or craft paint can be used to create beautiful designs, and terra cotta pots are an ideal choice for this. It’s important to prepare the pot properly for painting by cleaning and priming it if necessary.
Another option is creating decoupaged flower pots using Mod Podge to attach images or decorative paper to the pot. Whether it’s family photos, floral napkins, or vintage images, decoupage is a simple way to personalize the pot. To avoid ink bleeding, it’s important to seal any printed images before applying them. Sealing the inside of the pot is also essential if the pot will be used for plants to prevent water damage.
For a more modern touch, consider using vinyl designs. This method involves using a Cricut or similar cutting machine to create custom patterns or messages. The process requires transferring the vinyl to the pot carefully, but the results are sleek and polished.
Ribbons, twine, buttons, beads, glitter, and stencils are other ways to add decorative details to your Mother’s Day DIY flower pot. Moss, pebbles, and succulents can also be incorporated to enhance the pot’s visual appeal.
Materials and Supplies Needed
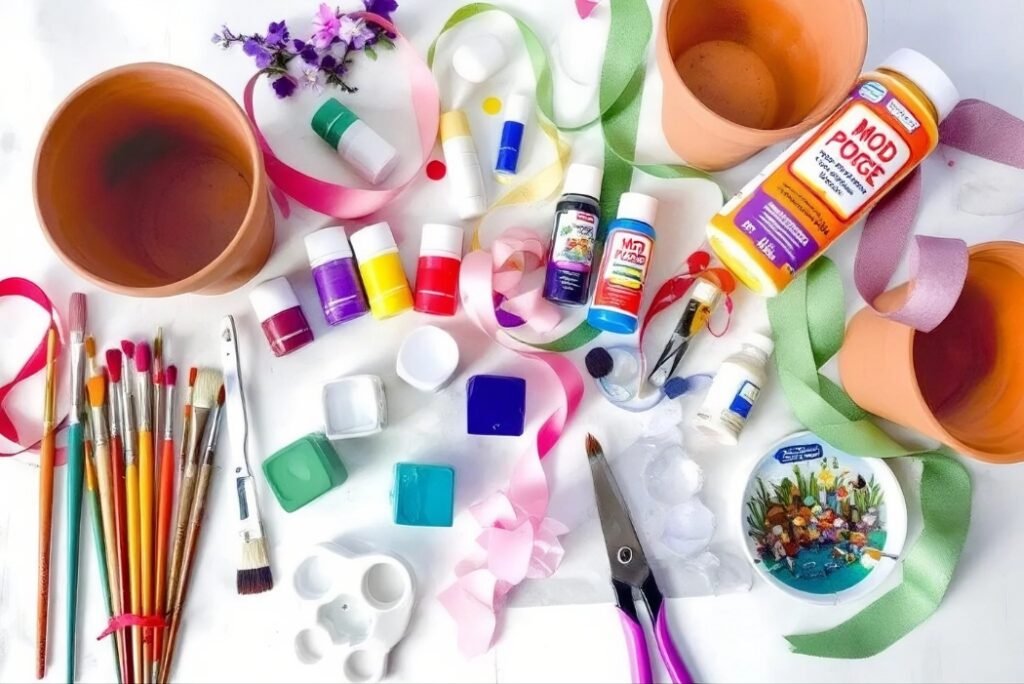
To create a Mother’s Day DIY flower pot, you’ll need the right materials. Flower pots come in different types, such as terracotta pots, ceramic pots, and plastic pots. You can find these at craft stores, garden centers, or even dollar stores. Depending on your design, choose a pot size that suits your intended use.
For decoration, you’ll need paint. Acrylic, craft, or spray paint are great choices for painted flower pots, and they come in a variety of colors to suit any theme. If you plan to decoupage, Mod Podge is essential for gluing photos or decorative papers to the pot.
If you’re working with vinyl designs, a cutting machine like Cricut will be needed, along with permanent vinyl. For other decorative elements, you may want ribbons, twine, buttons, beads, glitter, and stencils. Essential tools for this project include paintbrushes, sponges, sealant, a glue gun, scissors, and a trowel for planting. Additionally, potting soil is needed if you plan to add a plant.
To explore a wide variety of high-quality vinyl options perfect for personalizing your flower pot, consider visiting Teckwrap Craft’s website. They offer a range of vinyl products known for their vibrant colors, durability, and ease of use, which are ideal for decorating flower pots.
TeckWrap Craft provides options such as Holographic Glass Flower Adhesive Craft Vinyl, Colorful Pearl Adhesive Vinyl, and Candy Color Craft Vinyl which can add unique and beautiful touches to your project. Be sure to also use these Teckwrap Craft coupons to get the best prices on your supplies
Step-by-Step Instructions
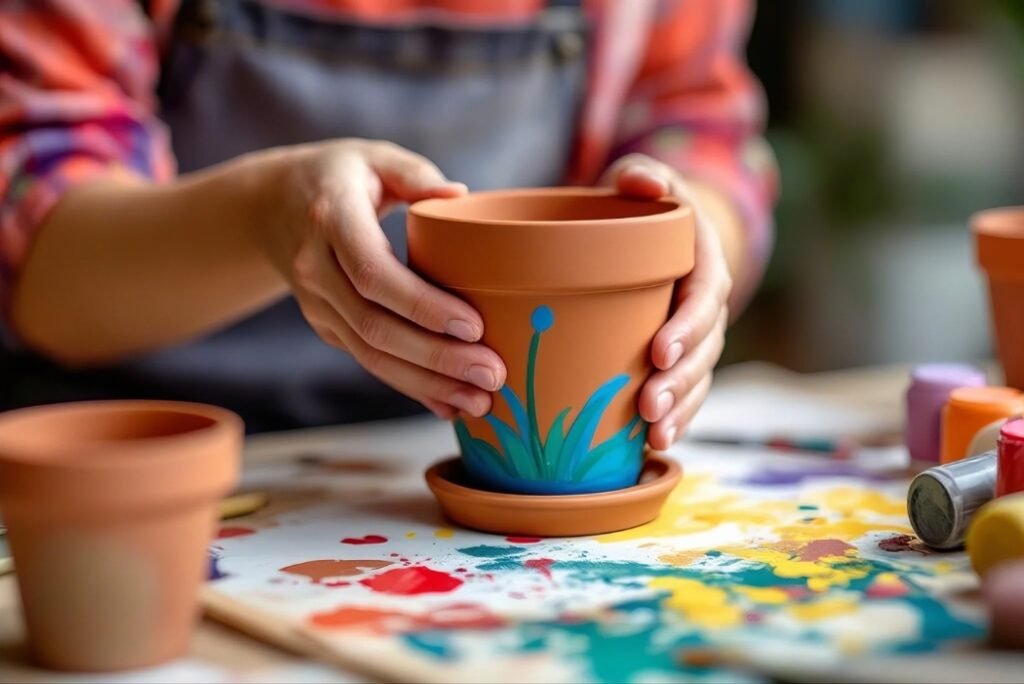
Creating your Mother’s Day DIY flower pot involves a few simple steps. First, choose your pot and design. Clean the pot thoroughly and apply a base coat of paint if desired. Once dry, begin adding your decorations, whether you’re painting, decoupaging, or using vinyl.
If you’re using photos, print them, cut them out, and apply them to the pot with Mod Podge. Be sure to seal the pot after applying the images to protect them. When working with vinyl, carefully apply the transfer tape to ensure proper adhesion to the pot. Use a scraper tool for firm pressure when applying vinyl or photos.
Finish your Mother’s Day DIY flower pot by adding final touches like ribbons or a decorative bow to complete the look.
Creative Ideas and Customization
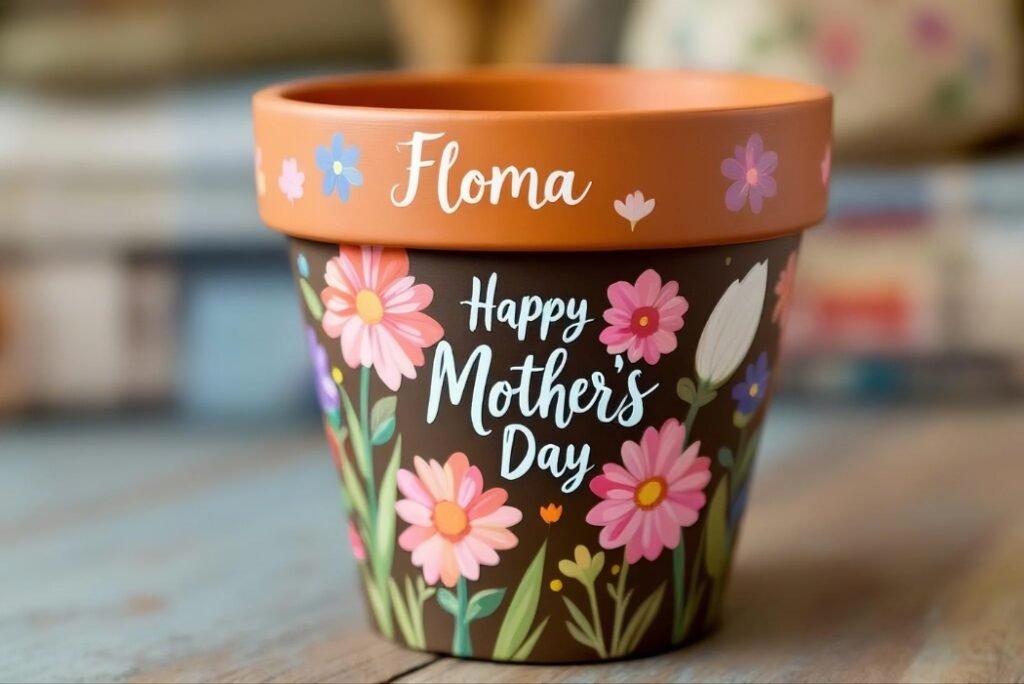
A Mother’s Day DIY flower pot is a versatile canvas for creativity. Consider personalizing the pot with the recipient’s name, a meaningful date, or a special message to make the gift extra thoughtful. Fingerprint or handprint designs add a personal and unique touch, especially for younger children. Use stencils for consistent lettering or patterns to create a professional look.
Another great idea is to create a themed flower pot, such as a floral theme for a garden-loving mom or a photo-based pot featuring family memories. Incorporating plants or flowers into the pot adds a final touch. You can also create a matching Mother’s Day card to accompany your flower pot gift.
Alternative Uses for DIY Flower Pots
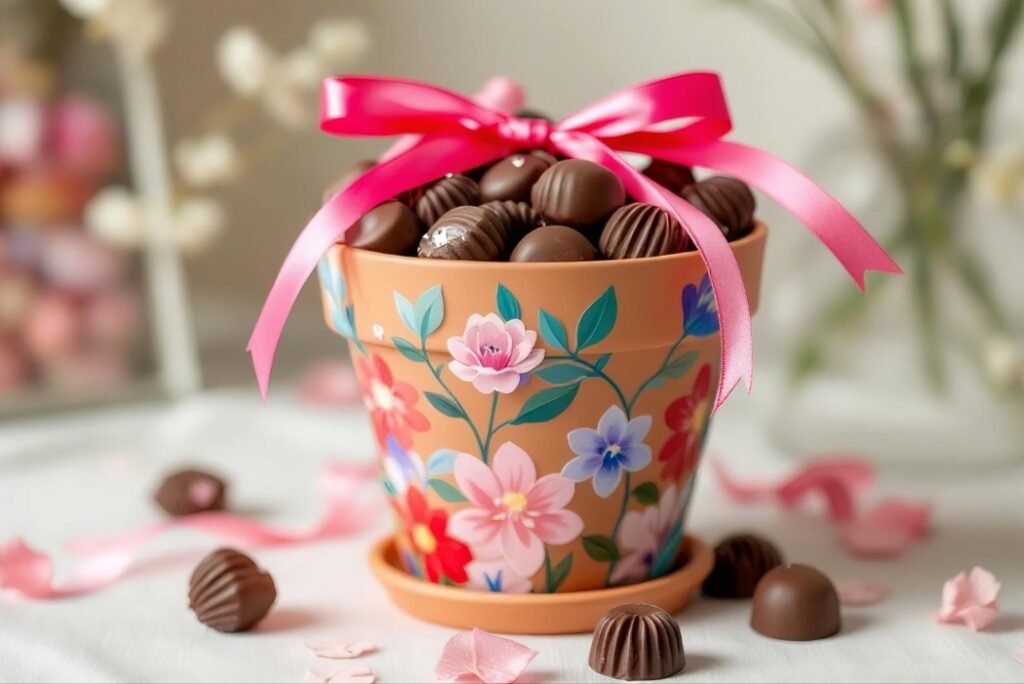
Flower pots are not just for plants. The Mother’s Day DIY flower pot can be transformed into a decorative container for a variety of items. For example, you can use a flower pot to hold bath salts, soaps, or candles for a relaxing spa gift. Flower pots can also serve as treat containers, filled with candies or chocolates. Alternatively, they make beautiful vases for fresh cut flowers, adding a personal twist to a traditional floral gift.
You can even get creative and turn a flower pot into a bird bath, tiered planter, or luminary for outdoor spaces. If you want a simple yet charming addition to your home, a flower pot can also serve as a storage container for small items like office supplies or kitchen utensils.
Tips and Tricks for Your Project
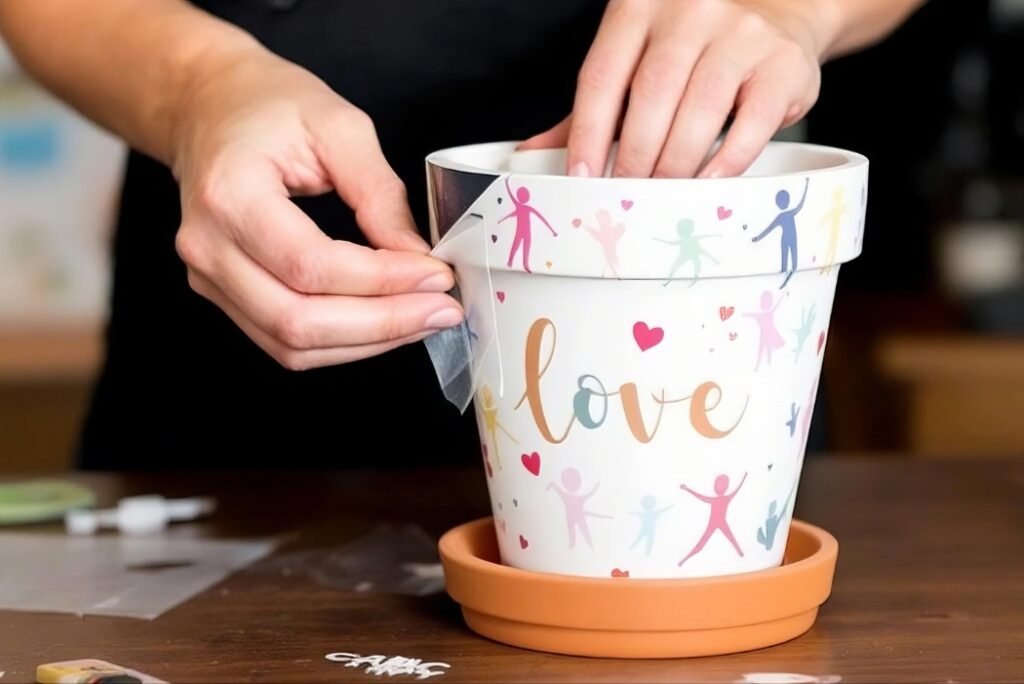
When creating your Mother’s Day DIY flower pot, keep a few helpful tips in mind. If you’re using real plants, be sure to apply sealant to the inside of the pot to prevent water damage. If you plan to use photos, print them using a laser printer to avoid smearing. For inkjet prints, seal the photos before applying them to the pot.
It’s a good idea to practice your painting techniques on scrap paper or cardboard before painting the pot. If you’re using photos, create paper templates to help guide your placement. Take your time when applying vinyl or photos to ensure they adhere properly.
Making it a Family Activity
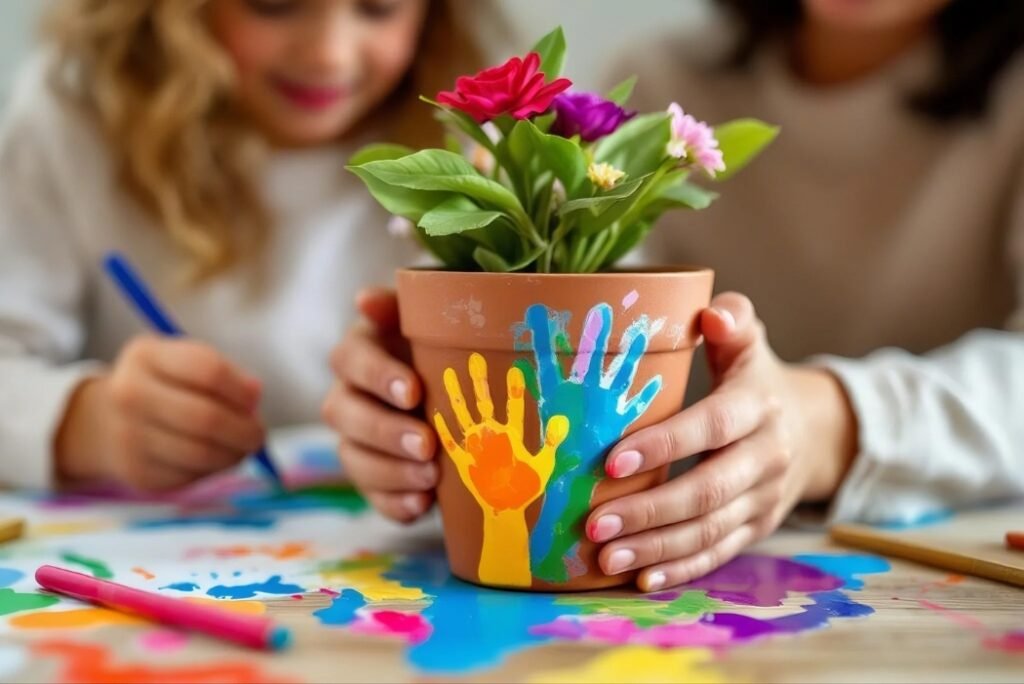
Crafting a Mother’s Day DIY flower pot can be a fun family activity. Involve children in the process by helping them add their own touches, such as handprints or drawings. Depending on the age of the child, the project can be adapted to be simple or more advanced. This hands-on activity not only results in a beautiful gift but also creates lasting memories for the whole family.
Conclusion
A Mother’s Day DIY flower pot is a unique, heartfelt gift that will make any mother feel special. The thought and effort put into creating a handmade gift will shine through and be appreciated long after Mother’s Day has passed.
Whether you choose to paint, decorate, or add a plant, your customized flower pot is sure to delight. With a variety of styles and techniques to choose from, you can create the perfect Mother’s Day DIY flower pot for the mother figures in your life.


